Enjoy this delicious, old-fashioned homemade ice cream for the dairy sensitive and gluten free person. Best of all, the creamy texture has the perfect amount of sweetness with added fiber to keep my blood sugar in check. My first bite sent me down memory lane. Coming from a large family of six children, one of my favorite childhood memories was going to the ice cream shop after dinner. What a treat to choose my very own flavor.
In May, I make strawberry ice cream; in June, blueberry with crushed graham crackers; and in July blackberry ice cream using juice strained through cheesecloth. If you enjoy the flavor of peaches, enjoy a trip to the orchard to pick peaches. Store bought just does work.
This old fashioned homemade peach ice cream is so creamy and delicious that you might just want a cone! Out of curiosity, I Googled to learn if anyone sold gluten free waffle cones. Yes! You can once again enjoy a scope or two of ice cream in a JOY gluten free waffle cone or ice cream cone.
What Do I Mean by Dairy Sensitive Ice Cream?
Dairy sensitivity means I am not allergic to anything found in cow’s milk protein. However, I lack the enzymes required to break down the type of casein found in cow’s milk called, Alpha S1 casein. This is good news! Why? Because I created an old fashioned homemade ice cream recipe that is creamier and even more delicious than I once made with cow’s milk.
Did you know that the casein and composition of goat milk is very different from cow’s milk?
According to researchers, goat milk consists mainly of Alpha S2 casein and very little of the Alpha S1 casein found in cow’s milk. Goat milk also has:
“More medium-chain triglycerides and smaller fat globules than cow milk, resulting in better digestibility.” These properties of goat milk can be exploited in functional foods for people with metabolic disorders as well as infants and the elderly (Alférez et al., 2001).
Best of all, goat’s milk is thick and creamy making it perfect for mixing with other non-dairy milk creating the most delicious, creamy, homemade ice cream.
Is Dairy a Concern?
There is a way to learn if you are sensitive to specific groups of food. If you are, eating ice cream and many other delicious desserts like pizza, favorite desserts, and pancakes are still possible.
One way to learn about your food tolerances is through bloodwork. Another way is to use a food elimination tracker. I share my shopping tips that you can check out by clicking here. What you learn helps you remove and replace specific groups of food from your diet, one at a time. For example, you replace dairy full ice cream with dairy free ice cream.
Did you know that foods like nuts, gluten, eggs, and milk can contribute to inflammation, headaches, physical pain, digestion distress, hives, and moodiness?
Amazingly, your body quickly begins to heal after you remove an unknown food intolerant or allergy from your diet. This healing results in a stronger response once the food is reintroduced helping you know it is indeed a food sensitivity. Your responses help you know if you need to seek allergy testing and/or learn how to eat differently.
Homemade Sweetened Condensed Milk for the Dairy Sensitive
Whenever I made homemade ice cream, I avoided making my own dairy free condensed milk for years. What if it did not work? What changed? Exposure to mold disrupted my gut health. Now, I suffer acute inflammation whenever I am exposed to the smallest amount of cow’s milk. Thus, I knew it was time to make homemade sweetened condensed milk. It was worth the risk.
Years ago, I found a dairy and nut free homemade sweetened condensed milk recipe. When I searched, I found a similar recipe on Namely Marly. However, Marly cooks her milk mixture in the microwave. I prefer to cook my sweetened condensed milk on the stovetop leaving me with more time to prepare my chosen fresh fruit for freezing.
Before churning your homemade ice cream, all liquid ingredients must be cold. Thus, I recommend making homemade sweetened condensed milk early enough to chill in a refrigerator. If you are in a hurry, it only takes an hour to chill the homemade sweetened condensed milk in a freezer.
Ingredients for Old Fashioned Homemade Ice Cream
Use a batch of COLD homemade sweetened condensed milk or two cans of store-bought sweetened condensed milk.
1 can of COLD coconut milk
1 can of COLD goat milk
2-3 cups of frozen fruit
1/4 teaspoon of salt
4 tablespoons of lemon juice
Homemade Sweetened Condensed Milk:
- 1 can of coconut milk
- 2 cups of non-dairy milk (I like to use sweetened vanilla almond milk)
- 1 1/2 cups of sugar
- 1 teaspoon of vanilla extract
- 1/4 cup of non-dairy milk
- 2 tablespoons of Benefiber (optional-improves my blood sugar)
- 2 tablespoons of cornstarch
- 1 tablespoon of all-purpose gluten free flour (I use coconut flour)
Directions for Homemade Old Fashioned Ice Cream:
Before You Start
First, put your ice cream metal container in the freezer the day before at least 2 or more hours before you make your ice cream.

Chill whatever milk you choose to use in the refrigerator. If short on time, put them in the freezer for about an hour. Because I have blood sugar issues, I make ice cream high in protein. Thus, I use goat milk whenever I make ice cream. (canned coconut and goat milk, homemade or store-bought sweetened condensed milk)

Homemade Sweetened Condensed Milk Perfect for Ice Cream
In a large pot add:
1 can of coconut milk

2 cups of non-dairy milk. Nut based, non-dairy milks are higher in protein balancing out all the sugar needed to make delicious, creamy old fashioned ice cream.

1 & 1/2 cups of organic sugar

And 1 teaspoon of vanilla

Bring the pot to a boil over medium heat.

Once the mixture begins to boil, immediately turn the heat down to low.
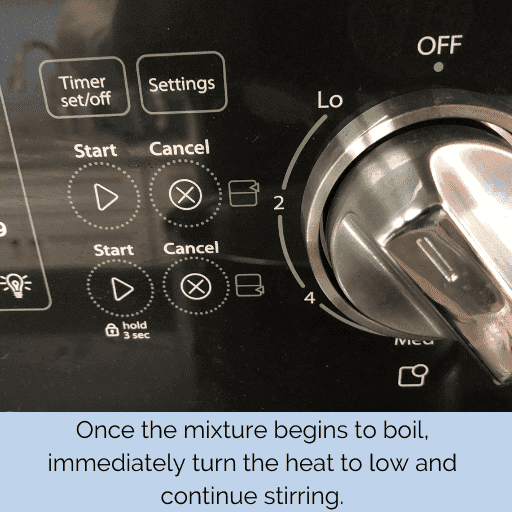
While the milk simmers, stir intermittently. When you stir, the mixture expands. Thus, make sure you use a pot with a high side to give it plenty of room to foam up.
As the milk cooks down and thickens, you will see the milk mixture look less foamy. It will also begin to stick to the stirring utensil and the sides of the pot.

*If using fresh fruit, I prepare fruit for freezing while intermittently stirring condensed milk. I place my cutting board right beside the stove so it only take a few seconds to stir. This is a great time to prepare your fruit for freezing or to start preparing a meal.
See tips below for preparing blackberries and blueberries.
Mixture for Thickening Sweetened Condensed Milk
After the milk simmers for about an hour, mix together the following ingredients in a separate cup:
1/4 cup of dairy free milk

2 Tablespoons of Benefiber or a gluten free Fiber Powder in the 1/4 cup of dairy free milk.

1 & 1/2 Tablespoons of cornstarch in the 1/4 cup of dairy free milk.

Then, I added 1 Tablespoon of all-purpose gluten free flour or coconut flour.
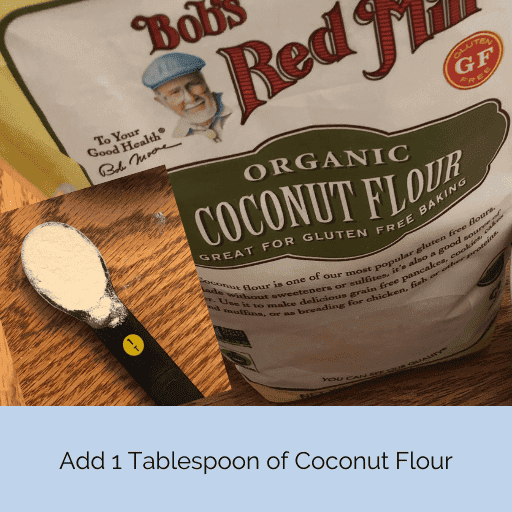
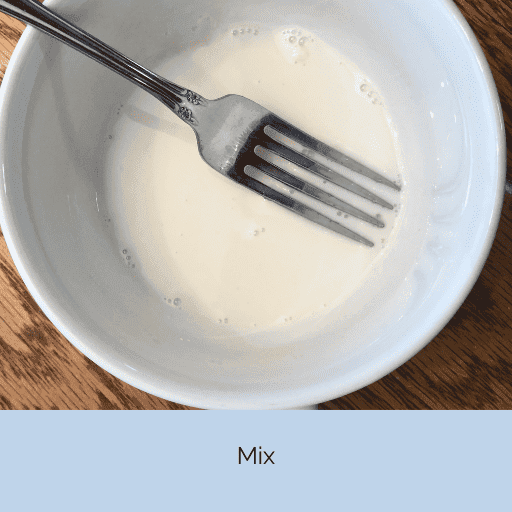
I poured the mixture into a larger cup to make it easier to mix together all of the above ingredients.
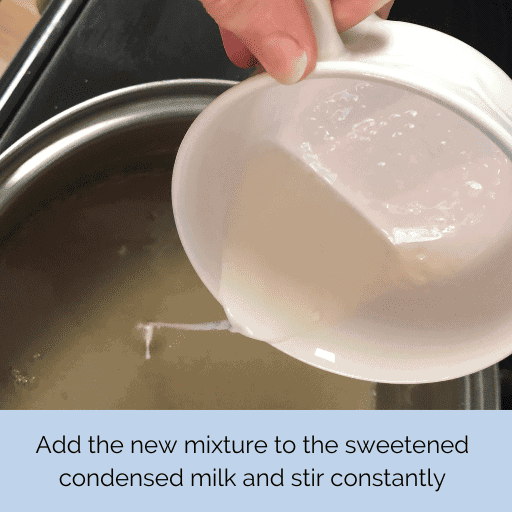
Add the new mixture to the pot of hot sweetened condensed milk and stir constantly for about 5 minutes. See how thick it is. Use a rubber spatula to scoop it all out of the mug.
After 5 minutes, remove the pan from heat.

Then, stir for a minute. After that, stir every few minutes until the sweetened condensed milk is completely cool. Why? Stirring stops the build-up of condensation during the cool-down phase keeping the sweetened condensed milk thicker.

Lastly, pour the sweetened condensed milk into a container and chill it in the refrigerator overnight or in the freezer for an hour. See how creamy and thick the sweetened condensed milk looks once it cools in the refrigerator or freezer. Your ice cream is equally creamy with just the right amount of sweetness.
Pick and Prepare the Fruit
While the sweetened condensed milk is cooking on the stove, prepare your fruit for freezing. Cut up 2 cups of fresh fruit and freeze. Or, simply use frozen store-bought fruit. If your fruit is big and chunky like whole strawberries, measure out an additional cup.
I chose fresh peaches for today’s recipe. Placing fresh fruit on parchment paper makes it easy to remove the fruit. Otherwise, the pieces of fruit stick to the pan.

Peaches – Wash, peel, pit, and cut into bite-sized pieces. Throw away the skin and pit.
Blackberries – mostly juice, strain the juice through a cheesecloth that is laid over a small mesh strainer to catch the seeds. Throw away the cheesecloth and seeds.
Blueberries – Wash and then mash the blueberries in a bowl to separate the skins from the berries. Once you have mostly juice, strain the juice through a mesh strainer. Discard the skins and keep the juice for the ice cream.
Strawberries – Wash and use whole.
Cherries – Wash, halve and discard the pit.
Before making your old fashioned homemade ice cream, your fruit must be completely frozen.
How to Make Old Fashioned Ice Cream
In a blender add:
1 can of COLD coconut milk and 1 can of COLD goat milk.

Blend on medium-high speed or liquefy until the solid portion of the coconut and goat milk are fully incorporated. The mixture will look creamy.

Before adding your frozen fruit, pour half of the milk mixture into your homemade sweetened condensed milk.

Then, add your fruit. Once you add the frozen fruit, blend on medium-high speed or liquefy again until mixture looks creamy. If mixture stops blending leaving chunks of fruit, add more of the milk mixture.

Next, remove your ice cream maker’s metal churning container from the freezer.
Now, pour cold sweetened condensed milk and creamy fruit milk mixture into the frozen metal churning container.

Lastly, add 1/4 teaspoon of salt and 4 tablespoons of lemon juice and stir.

If you wants bits of frozen fruit in your ice cream, now is the time to pour them into the metal churning container. Then, stir.
Once you are done stirring, put the top on and begin churning following your ice cream maker’s instructions. If using an electric homemade ice cream machine, this is what we do:
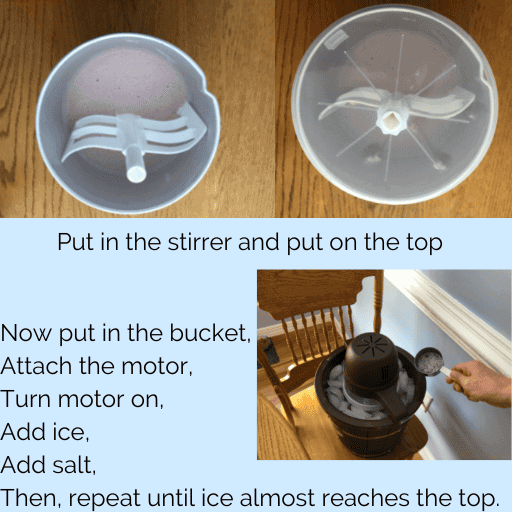
When the homemade ice cream has reached your desired thickness and consistency, turn the machine off and enjoy. Many ice cream makers automatically stop churning, turning, once ice cream reaches a certain thickness.
If you like a firmer ice cream, remove the ice cream from the churner and store it in the freezer for a few hours before enjoying.

Enjoy With Your Favorite Toppings!
Enjoy the soft-serve, creamy texture of your old fashioned, homemade ice cream with or without toppings like carmel syrup, walnuts, and graham cracker crumbs.

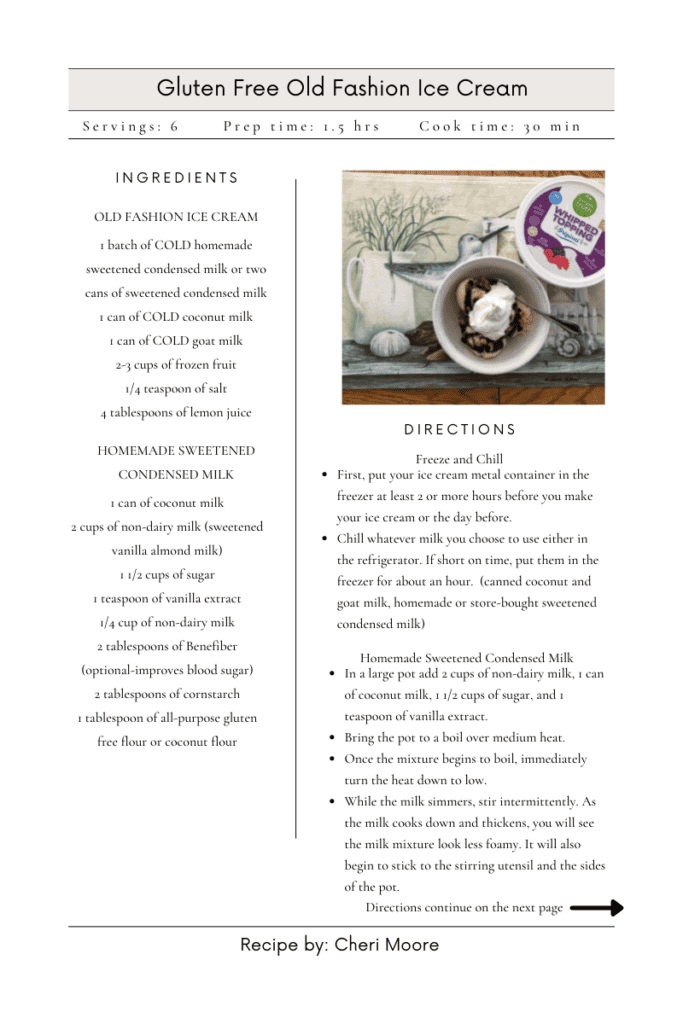
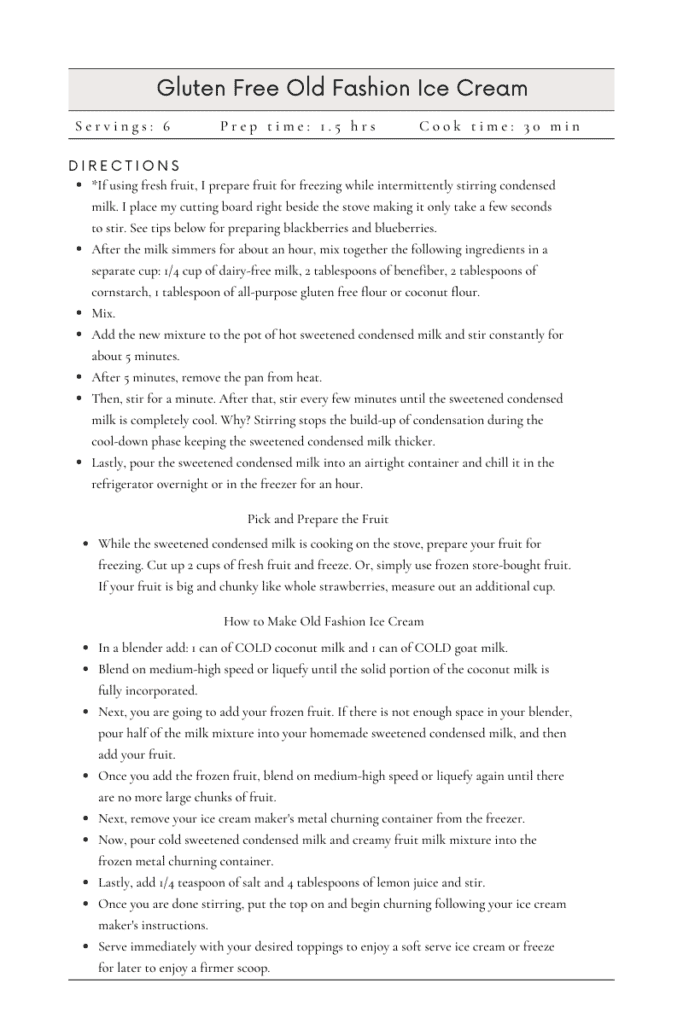
Printable Recipe Card for Gluten Free Old Fashioned Ice Cream
A Note for the Future
Day after day, I enjoyed a bowl full of old fashion homemade peach ice cream with no headache, joint pain, or stomach ache. Making my own condensed milk was definitely worth it! Best of all, I saved myself about $25.00 dollars. I will share details of my savings in my next dairy, gluten, nut, and corn free strawberry homemade ice cream recipe.




0 Comments